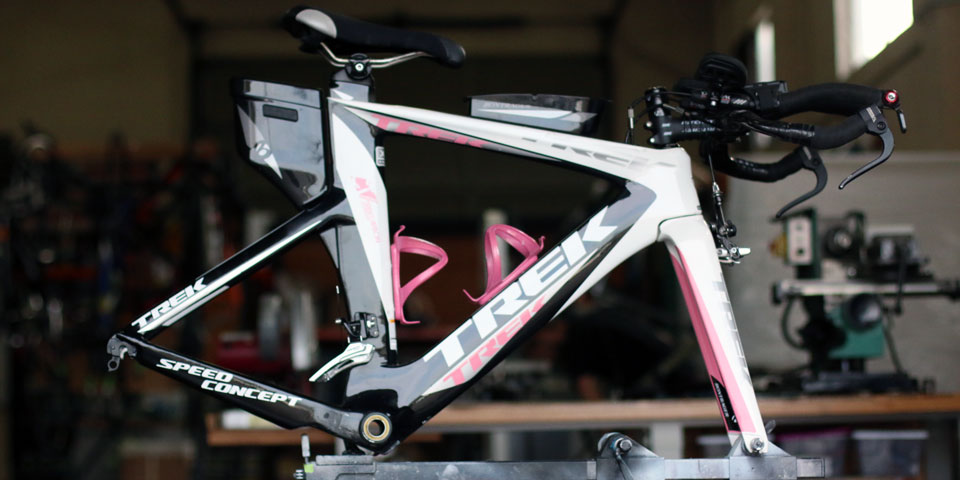
This week at Ruckus we started reorganizing the shop, we listened to some great jams (courtesy of Dan), we lost one of our beloved houseplants and completed a whole lot of repairs. One of the more interesting and illustrative repairs we finished up was a dropout replacement on a Trek Speed Concept.
Working on bikes that come to us from all over the world means that we get to work with bike owners of all sorts. And while we love getting to witness our customers returning to the road, the trail or the racecourse on their post-repair, better-than-new bikes, we also get to hear stories of heroism, bewilderment, adventure and frustration as we receive damaged frames. This particular repair started with one of our most wonderful customer stories yet. (It should be noted that everyone involved in this story is doing just fine.)
“Not a sexy story, rear dropout broke when I fell off the trainer. I was sober, I couldn’t unhook my shoe when I was trying to get off the bike to save my daughter who fell off the treadmill. we should probably live in a bubble.”
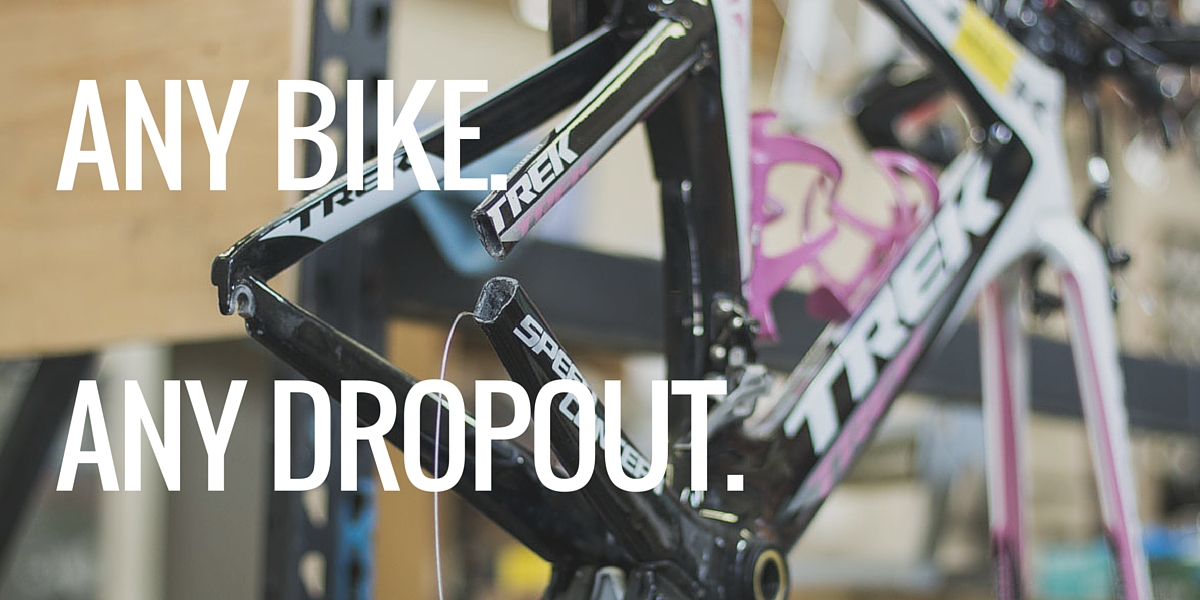
Here’s what the dropout looked like:

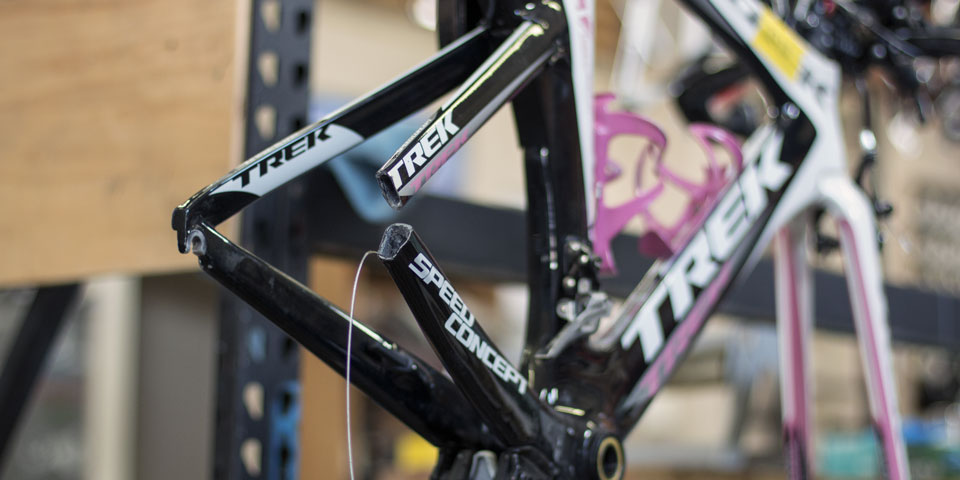
Safe repair starts with professional damage removal. Always. So the first step when this Speed Concept rolled through our door was to remove the damaged dropout. This process is just as important, and sometimes even more delicate, than the actual laying of new carbon in a repair.
We have our own process for extracting alloy dropouts from carbon bikes. We cut the dropout into two pieces, then use a heat source to heat up the alloy to a specific temperature to break the epoxy bond. Every repair is slightly different, but at this point we’re able to pull the pieces of the dropout right out. We’ve done this hundreds of times. So we’re pretty good at it at this point. Below is what a clean removal looks like:
This bike—and many others—is manufactured with a non-removable derailleur hanger. This means that when these dropouts break, the only fix is to fabricate an entirely new one. At Ruckus we’ve engineered and perfected a system to do this. In fact, at this point we’ve fabricated hundreds of brand new model-specific dropouts.
As it stands Ruckus is the only place that can manufacture dropouts this way. We have those three crucial ingredients: the right tools, the know-how and the experience. And this means we’re able to repair any dropout on any bike.
So. Our next step was to actually create our new dropout. It should be noted that one of the things that sets Ruckus apart—and a key to our ability to do this repair—is the fact that we have a large scale industrial 3D printer. This means we can fabricate designs in a very timely manner. Once we’re satisfied with the design we have it CNC machined to high precision out of a solid carbon fiber plate. Below is a shot of our new dropout, ready to be aligned and attached. (Note the internal cable routing. This adds another layer of complexity to the repair.)

Next we place the entire frame into our frame building jig and carefully align the new dropout. Accurate alignment is absolutely critical to ensure that the bike will brake and handle properly. A single millimeter of error at the dropout will move a 700c rim 4.6 mm.
Once properly aligned, we tack the dropout into place with an engineering adhesive and perform sculpting work to make sure that the old and new surfaces mate correctly.
We then apply a blend of different unidirectional carbon fibers, all with specific orientations to structurally attach to the frame’s chain and seat stays. Different parts of a bike frame perform different functions, and for this reason the layup of our unidirectional carbon is always unique to the specific part of the frame we’re repairing. In this case, because the chainstays and seatstays do really highly specific things, we do highly specific carbon layup.
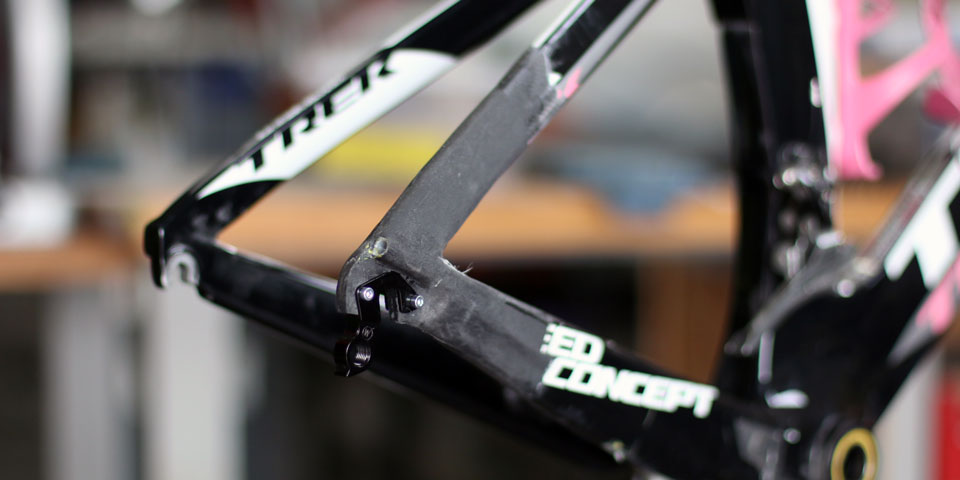
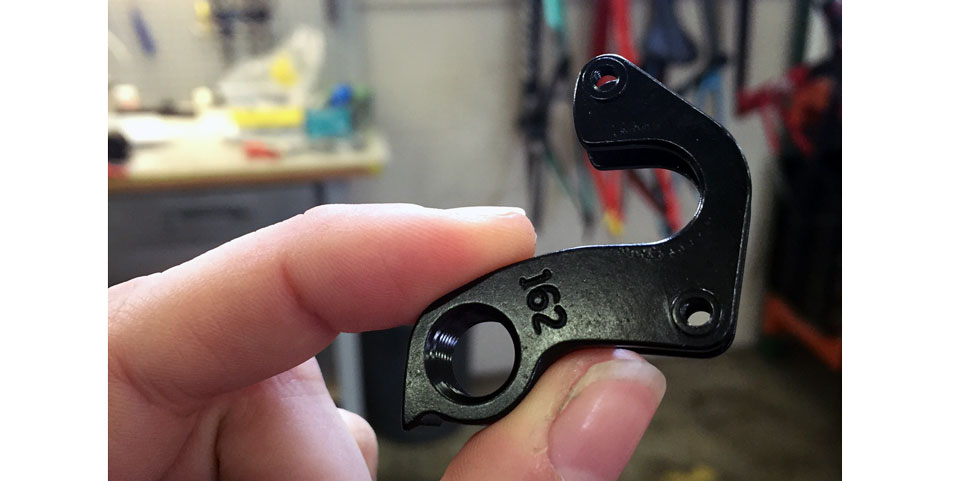
Note that in all Ruckus dropout repairs we use the Wheels Manufacturing 162 derailleur hanger …so you’ll never have to go through this again.
From here we launch into bodywork, color matching, masking and paint. A painstaking and finally rewarding process, as always. Here Graham creates masking for the Trek decals we painted on the repaired chainstay and seatstay.

The finished product!
